Saturday, May 31, 2014

Deanna: Recent Photos by Deanna Siegle Photography

So… I have been keeping fairly busy lately with photography, and life in general. Earlier this evening I was going through some of my recent pictures and I am very proud of my recent work, so I thought I would do a short post about what I have been up to, and show off some of my work. 

Normally, I just do portraits but Ben wanted to go out on Pelican Lake at sunset one evening. So, I decided to take my camera along and I am SOOO glad that I did! Here are my two favorite images from that night and I am extremely proud to say that no editing has been done to either of these images (except for adding my watermark, of course) :)


The image below is of the "mansion" on Pelican Lake. We were so shocked the first time we saw it, it is absolutely beautiful - and a bit ridiculous for how huge it is. But definitely a sight to see!

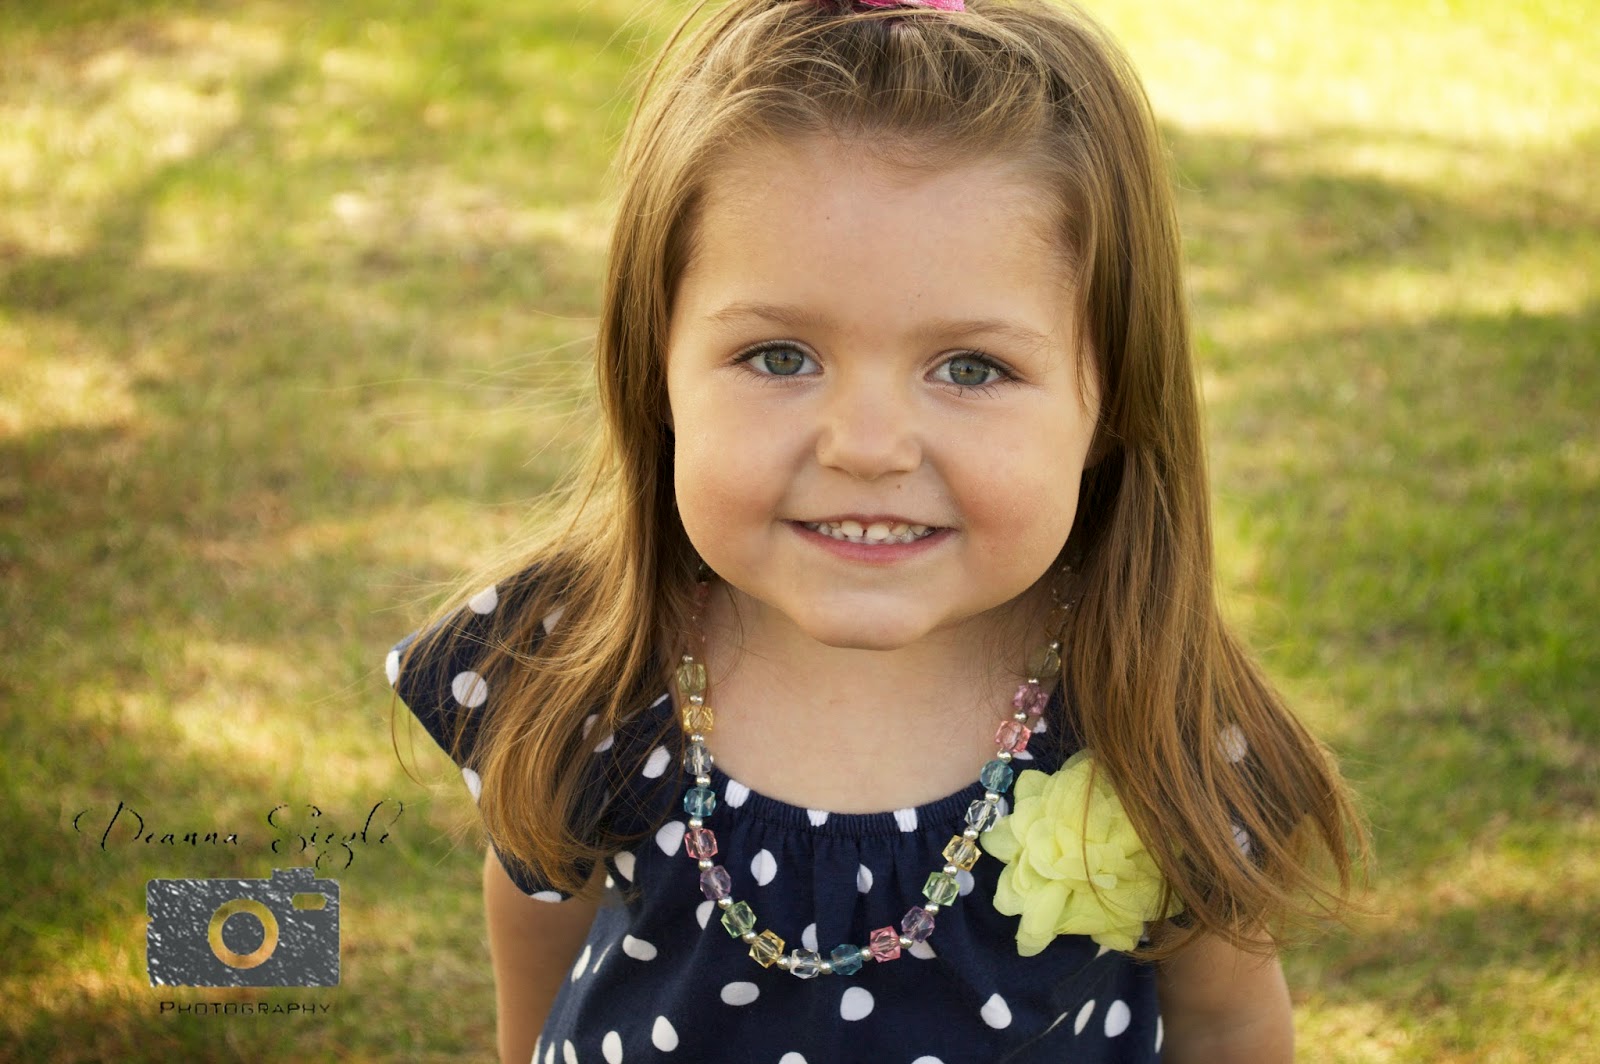
These next images are from a shoot I did last week with a 2-year-old and her 16-day-old little sister. Such beautiful little girls - I had a blast with it! :) Plus I was able to practice some new editing techniques, so I am very pleased with my results.


The next image is of Emily's family on the day that her little man was dedicated. She wanted me to do pictures, but I hadn't brought my camera with… so I had to improvise and use my mom's. But it worked out really well and I got a few images that I love (and so does Em)… so it was a success! :)

The last image is from my niece's 1st birthday! We did a cake smash at her birthday party (my first one) and it was fun, colorful, and hilarious! She was so unsure of it at first, then she tried running around and she slipped a few times cause of the frosting on the floor. Very eventful! You can't see it very well in this image, but I made tissue paper flowers for the backdrop - and I will be doing a post very soon about how to make those. So, stay tuned for that!

So, that's what I have been up to lately! I am having so much fun and I feel like I am improving, and I am becoming much more confident with my images. Always looking to do more shoots.. so for anyone interested, let me know and we can make a deal! ;) Also, if you would like to see my Facebook page, click here

Thanks for reading! Will post more soon :)

Friday, May 16, 2014

Deanna: No Knead Bread

I have been meaning to post this since I made it for Easter - but Ben and I have been so busy with moving, starting new jobs, etc, etc! So, I am finally getting to it.

We had Easter at my parents' this year, and my mom wanted me to make bread and I had found this recipe on Pinterest that I was so excited to try! This is the recipe that I followed. I know a lot of people that are deathly afraid of trying to bake their own bread (I was one of them), and finally I tried it one day, and it was delicious! Now I have tried a few different bread recipes and this one I have found to be the easiest and quite yummy! So, here it is:

INGREDIENTS:
3 cups flour
1 teaspoon salt
1 teaspoon yeast
1 1/2 cups warm water

You will also need: 12-18 hours for the dough to rise, and a dutch oven.


First, mix the dry ingredients together in a bowl.


Then, stir in the warm water, and it will look like the picture below. Cover with plastic wrap and let it sit, AT ROOM TEMPERATURE, for 12-18 hours.

I let mine sit overnight, and in the morning the dough had risen to the top of the bowl, so make sure you have a large bowl! (Forgot to take a picture at that step - sorry!)


Once you are ready to form the loaf, heat the oven to 450 degrees and put your dutch oven in to warm it up. The original recipe says to keep it in the oven for 30 minutes, however, I only had mine in for about 10 minutes before adding the dough and it turned out great.

While the dutch oven is warming up shape your dough, on a floured surface, until it is a sticky ball. Take pot out of the oven, place dough inside and bake for 30 minutes covered.

Remove lid and bake for another 15 minutes.


And… Voila! Delicious, crusty bread. Note: This recipe does not make a large loaf. We had 6 people, and it was gone in no time. So, if you have a larger group, consider making two. Enjoy! :) 


Sunday, May 11, 2014

Cora: Kid Friendly Sharpie Mug DIY


This DIY is brought to you via my Toddler 2 classroom! 

Although we used this process for a Mother's Day gift, the process can be adapted to create an endless amount of designs. 

As I was trying to decide what my little friends should give their mommies this year for Mother's Day I naturally found myself on Pinterest (go figure, right?). I saw cute toilet paper roll flowers, 'send a hug' cut outs, and plenty of other flower/bouquet gifts. Although those are all wonderful things they are not creative enough for me. And as the teacher I wanted to get the kids a little more involved. 

I had been wanting to try my hand on the sharpie mug craze for a while now and I figured this would be a great opportunity to do a little experimenting. I tested out a mug at home before letting the kids have a go at it and found a few helpful tips when scouring Pinterest. 

1. Buy cheap mugs! Dollar store or Wal-Mart work great!

2. Wipe mugs clean with rubbing alcohol or alcohol swabs before drawing on your designs. 

3. Place mugs in oven before preheating. Set to 450 degrees. Bake for 30 minutes. Shut off oven and let cool COMPLETELY in oven before removing. 

As far as I've read.. Regular sharpies should work just fine if you use this process. I personally would still not put my sharpie mug in the dishwasher (just in case!). If you have time you can test your sharpies first. Get an extra mug and test each color you have, the purple I had the kids use turned a light pink color. While that was just fine for this project I was rather disappointed because purple is my favorite. :( 

Now, to the fun stuff! How did I get two year olds to leave 'MOM' written on their scribbled mugs?! 

After cleaning the mugs with alcohol I cut out the word 'MOM' in contact paper and applied it to the mugs. Then one by one the kids got to 'color' for mommy. They wore paint shirts so they wouldn't get marker on their clothes, and they were excited about using 'teacher markers'! Once they were done coloring I made sure that there was marker along the edge of the whole piece of contact paper (adding a few little marks to fill in the empty spaces). Let dry for a minute or two to avoid smudging and then removed the contact paper. 


And voila! Super cute kid friendly mug ready for the oven! The kids were so proud of their work once I removed the contact paper and showed them what they had done! 


Like I said earlier, this process could be used to create so many designs. Let me know what your kids create. 

Feelin' crafty,

Cora


PS... We had a great response from a few of our moms! They loved their mugs and thought it was a super cute idea! :) 


Thursday, May 1, 2014

Emily: A Mother's Love

I'd like to start off my first post by saying that I knew my sister's would be more apt to post than myself. I figured that since they have both shown me up by creating posts already, that it was about time to think of what I would like to share! 

Well, this past week I returned to work for the first time since Gabriel has been born, so spending quality time with my sweet baby boy is all that has been on my mind. I always knew that having a baby is a life changing event, but I never imagined how much every aspect of my life would be affected. 

One of the things people tell you is that you will never sleep again after having a baby. This has been completely untrue in my case. The most that my son has gotten up at night is twice to eat. He is 3 months old and has been sleeping through the night for a good 5 weeks now. I have taken more naps in the past few months than I probably ever have (under 10, but still!). 

What people don't tell you (or don't explain very well) is the innate desire that you will have to be with your child. It is such an intense, deep desire that is difficult to explain. It affects your whole being- physically, emotionally, spiritually. The first time I left my son was probably for less than a half hour. I could feel my body going into a panic at the store when one of my purchases would not ring up correctly. I knew everything was fine, I knew Gabriel was fine, but my body was panicking. I could not control it. 

That is exactly how I have been feeling about going back to work. Panicked. 

Many people have been praying for me, and God has answered. My first few days back have gone better than expected. Yet I realize at the end of each day how much I missed my little boy once I see his adorable face. I struggle with putting him to bed at night, because I just want to spend more time with him. In the mornings I don't want to say goodbye, and my husband helps out by being the one to drop him off at daycare. When the clock turns to 5:00, I am out of the office and on my way to pick him up. I know I will get more used to working, but at the same time I will always have that desire to be with my child. 

Right now, I have my first day off after returning to work. My sweet baby boy is sleeping on my chest and my heart is happy. This is exactly where I want to be and I am thankful for these moments. My life is changed forever, and I would never go back to the way it was before. How blessed I am to have someone so precious to me that makes leaving so hard!!

With a full heart, 
Emily